|
Projects are created from two areas of TO3000 3D: A: On the Main tab of the Project window by clicking the New Project button. You will be prompted to select a client when using this option. B: On the Projects tab of Client window by clicking the New button.
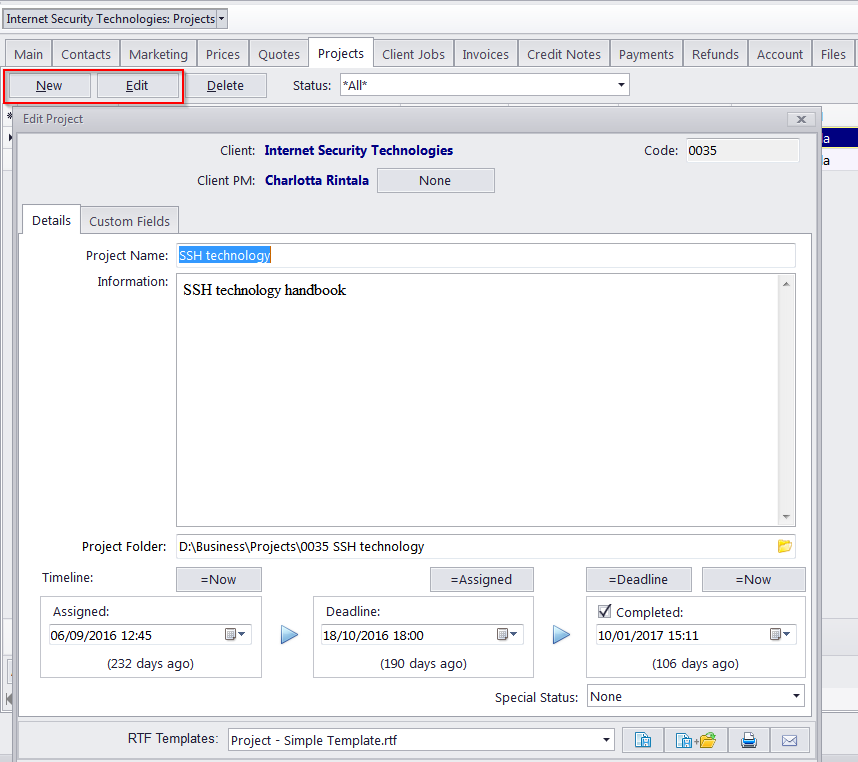
New/Edit Project window A Project Code is automatically assigned to each Project in TO3000 3D+. All Project Codes are unique and cannot be edited. Name - the project's name can be up to 150 characters long. Information - any general information relevant to this project in the form of a plain text note. Client PM - one of the client's contacts, responsible for this project on the client side. The person selected here will be set as the default client's PM for all new client jobs in this project. See the Contacts List topic for details on adding and editing contacts. Timeline - the timeline of a project in TO3000 3D+ includes the assigned and deadline dates, and the date when the project has been actually completed. The Deadline and Completed values are taken into account when the program determines the status of projects (like due today, overdue and so on). Project Folder — this part of the project's profile can be used to store and access the project's work files. Click the Folder button on the right side of the field to open the folder in TO3000 Explorer (creating it if it does not exist yet). Special Status - these are used when project needs to be put on hold, when you create a heads-up (or potential) project or cancel a project. Projects with on hold status have their deadlines undetermined, thus on hold projects cannot become overdue. Projects with heads-up status cannot be set as completed, since heads-up status assumes that work has not yet started. A project can also be cancelled. A cancelled project has no deadline, since the status implies that it was abandoned.
You can save project data in a printable file or print it with the help of the RTF templates interface. You can also e-mail the template-generated document via the Mail Sender. Templates for printing project data can be edited with the help of User Settings in the Backstage view. Click the Templates section to quickly access all template folders. Templates for printing projects are saved in the C:\Users\Public\Documents\AIT\TO3000, Version 3D\Templates\PROJECTS\ folder.
See also:
|