|
In the New Payment window you can enter the details of the payment received from the client when creating a new Payment record, you can also link the Payment with a particular Invoice.
New Payment window opens on the New button click from the Payments page of the Client window.
The general view of the New Payment window:
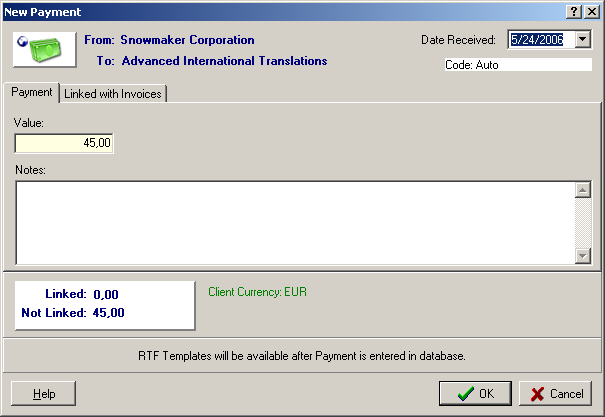

| • | In the upper left corner the From/To details are displayed in the following form: |
From: "Client Name"
To: "Your registration name"
 Note: The registration name cannot be manually changed from TO3000. To change the registration please contact the support team at support@to3000.com Note: The registration name cannot be manually changed from TO3000. To change the registration please contact the support team at support@to3000.com
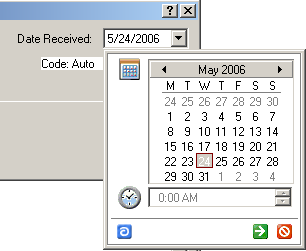
| • | In the upper right corner of the New Payment window you can specify the date when the payment was received using Date Received drop-down calendar: |
|
| • | To select the month, click the right and left arrows near the month name. |
| • | To select the date, click the day number. |
Click the little green icon to confirm the date set or the red icon to cancel.
Note: Click the little blue icon to set the Received Date to the current date.
|
| • | Enter the sum of Payment in the Value field: |
| • | Enter any necessary additional information about the payment in the Notes field: |
| • | Switch to the Linked with Invoices tab to create a link between the Payment and Invoice. |
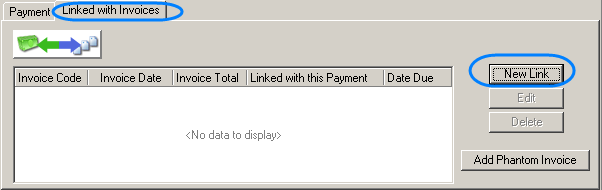
If there is an Invoice to the Client in the database and it is not completely "covered" with a Payment, the New Link button is active.
On the New Link button click the Select Invoice window opens where you can select the Invoice to link with the Payment:
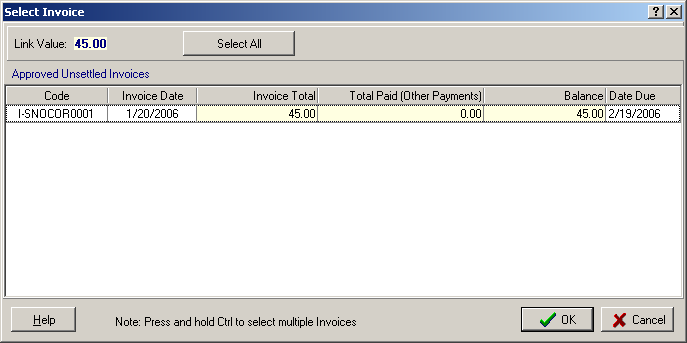
Note: You can link the Payment with several Invoices.
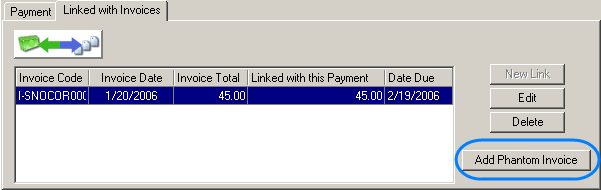
Now you can change the link value using Edit button or delete the link with invoice clicking Delete button.
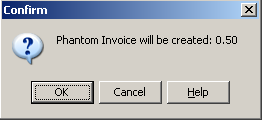
| • | In case some small amount is left uncovered by the Invoices and is considered negligent, you can create a Phantom Invoice to keep your records in order and close the Payment. To create a Phantom Invoice click Add Phantom Invoice button: |
and confirm the creation of the Phantom Invoice:
See Also:
Adding a new Payment
Changing Payment details
Edit Payment window
|