|
New Credit notes are created by pressing the New button in the Credit Notes tab of the Client window. You will be prompted to select an invoice the Credit note will be linked to before the New Credit Note window is opened.
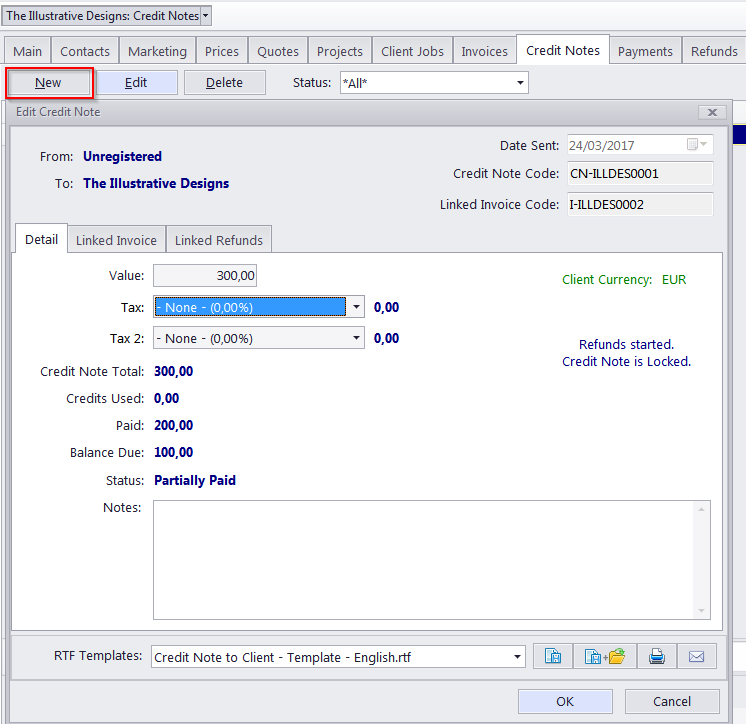
The New/Edit Credit Note window contains the following data:
Date Sent — this date is considered the credit note's issue date (no matter when the credit note has actually been created).
Credit Note Code — a credit note ID number, generated automatically. "CN" characters mean that this is a credit note, the letters afterwards represent the code of the client and the number is the value of the credit note counter for this client. Each client has an independent counter for this code.
Linked Invoice Code — the code of the invoice linked to this credit note during creation.
Value — the total value of the credit note in the client's currency. TO3000 will calculate the equivalent in your base currency according to the exchange rates.
Notes — any additional notes which your credit note must include, can be added on this field. These notes can be automatically added to the printed credit note.
Tax — each credit note can have up to 2 taxes. Taxes are applied as percentages to the credit note subtotals. To configure taxes, in the Backstage view click Business Settings and select the Taxes section.
 NOTE:
After a tax has been selected for a credit note of some client, this tax
will be remembered and applied as the default tax for the client. All
next credit notes will include this tax. The default tax can be changed
in any time by choosing another value during credit note creation.
NOTE:
After a tax has been selected for a credit note of some client, this tax
will be remembered and applied as the default tax for the client. All
next credit notes will include this tax. The default tax can be changed
in any time by choosing another value during credit note creation.
If the client's currency differs from your base currency, the Currency Exchange Rate button will be available. By clicking this button, you may change the currency exchange rate used in this credit note. Note that this button does not change the general exchange rate stored in your TO3000 database. To change exchange rate for all future credit notes, go to the Exchange Rates tab of the Business Settings.
Linked Invoice — displays the basic information of the invoice linked to this credit note.
Linked Refunds — on this tab you can check whether this credit note has been linked with refunds. Refunds can be linked to credit notes from the Edit Refund window only.
Saving / printing / e-mailing Credit Notes
To print, save or e-mail an Credit Note as an RTF document, use the RTF template controls near the bottom of the New/Edit window.
Use the RTF Templates drop-down list to select the template which must be used for printing, saving or e-mailing this credit note as an RTF file. Click the Save, Save & Open, Print, or Send Mail button to save, print, or e-mail the Credit Note.
NOTE: You can choose to save
the output file in RTF,
DOC or PDF format
by selecting this format in the Save As window with the help of the Save
as type drop-down list.
To edit templates for credit notes, in the Backstage view click Business Settings and select Templates. Templates for credit notes are located in the C:\Business\CLIENTS\Credit Notes\ folder.
![]()
See also: